Basic Directory Instructions
You can now create custom directory profiles for your departmental pages without having to access the Source Edit. Though this method does still use the directory API builder, the process is much easier.
We will begin by going through the steps of the new, basic directory page. Remember that all of the information that is being pulled comes from Campus Web Data and Workday. If you have incorrect information showing up in your directories, you can make needed edits by following our Directory Updates instructions. Any updates that cannot be made in Campus Web Data can either be updated through your Workday profile or by contacting your human resources representative.
Building Your Directory API for your Directory Page
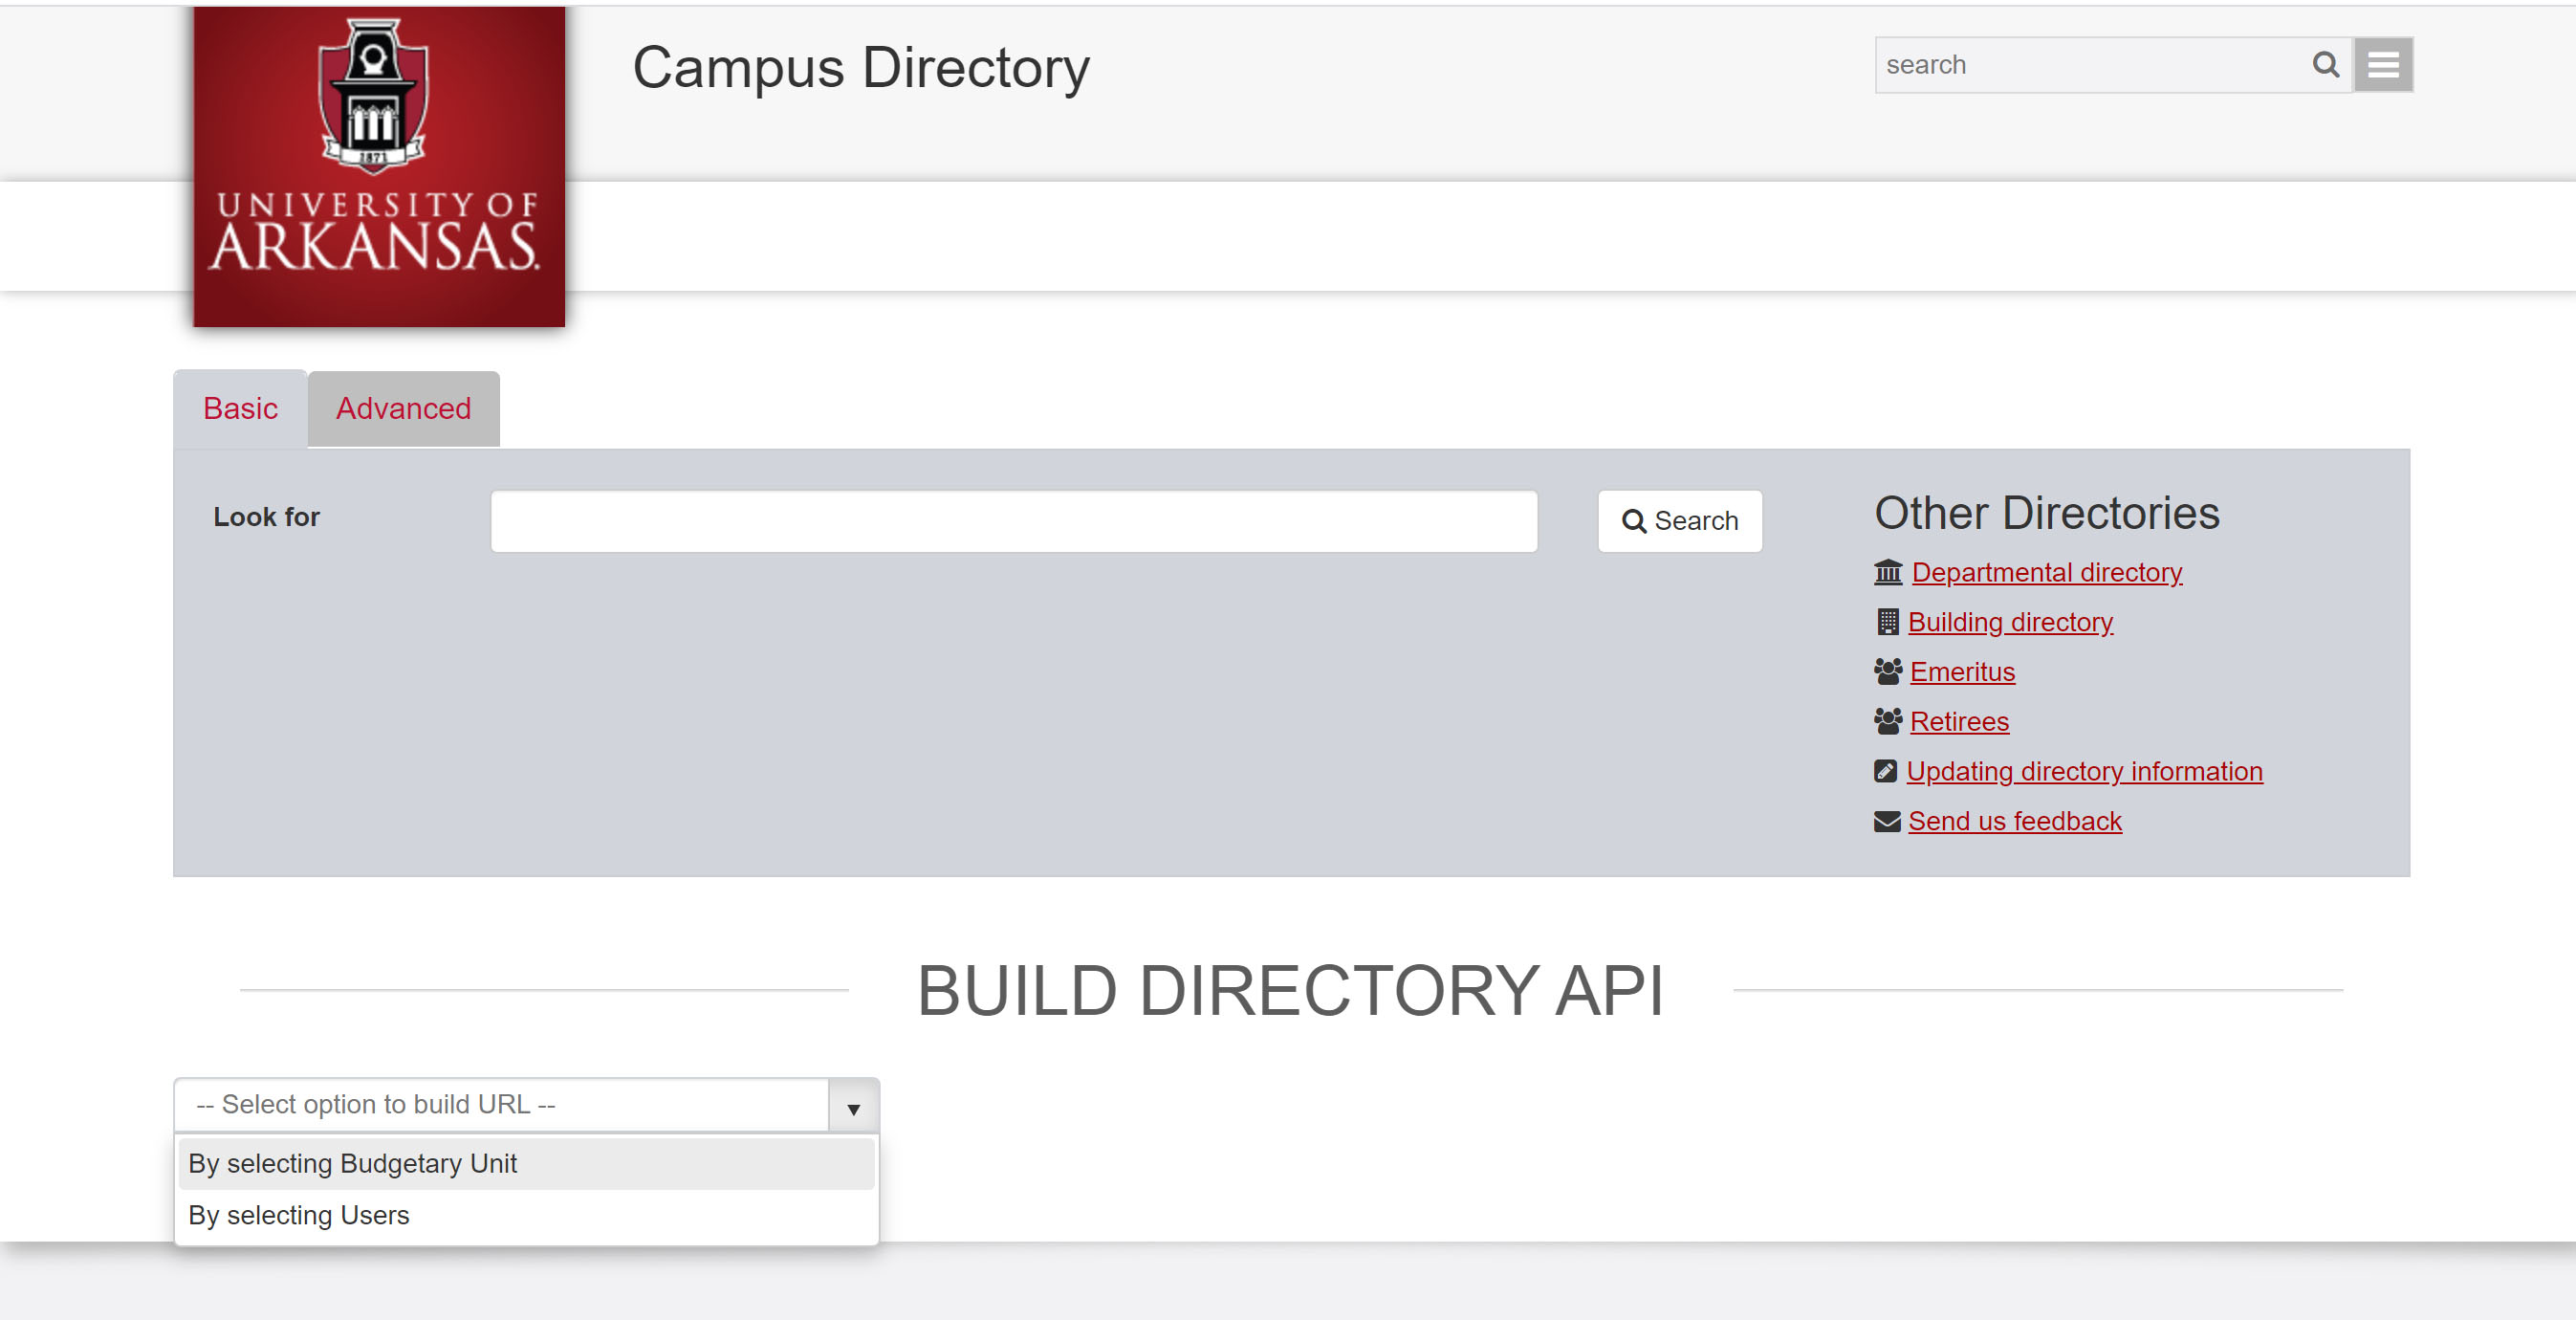
Begin by building your API in the Build Directory API page. You can use either the ‘By selecting Budgetary Unit’ or ‘By selecting Users.’
If you select the ‘By selecting Budgetary Unit’ you have the option to add and/or exclude people as well as build by budgetary code or name, order by classification, order by first name, last name or title, exclude people, include people, or use all options.
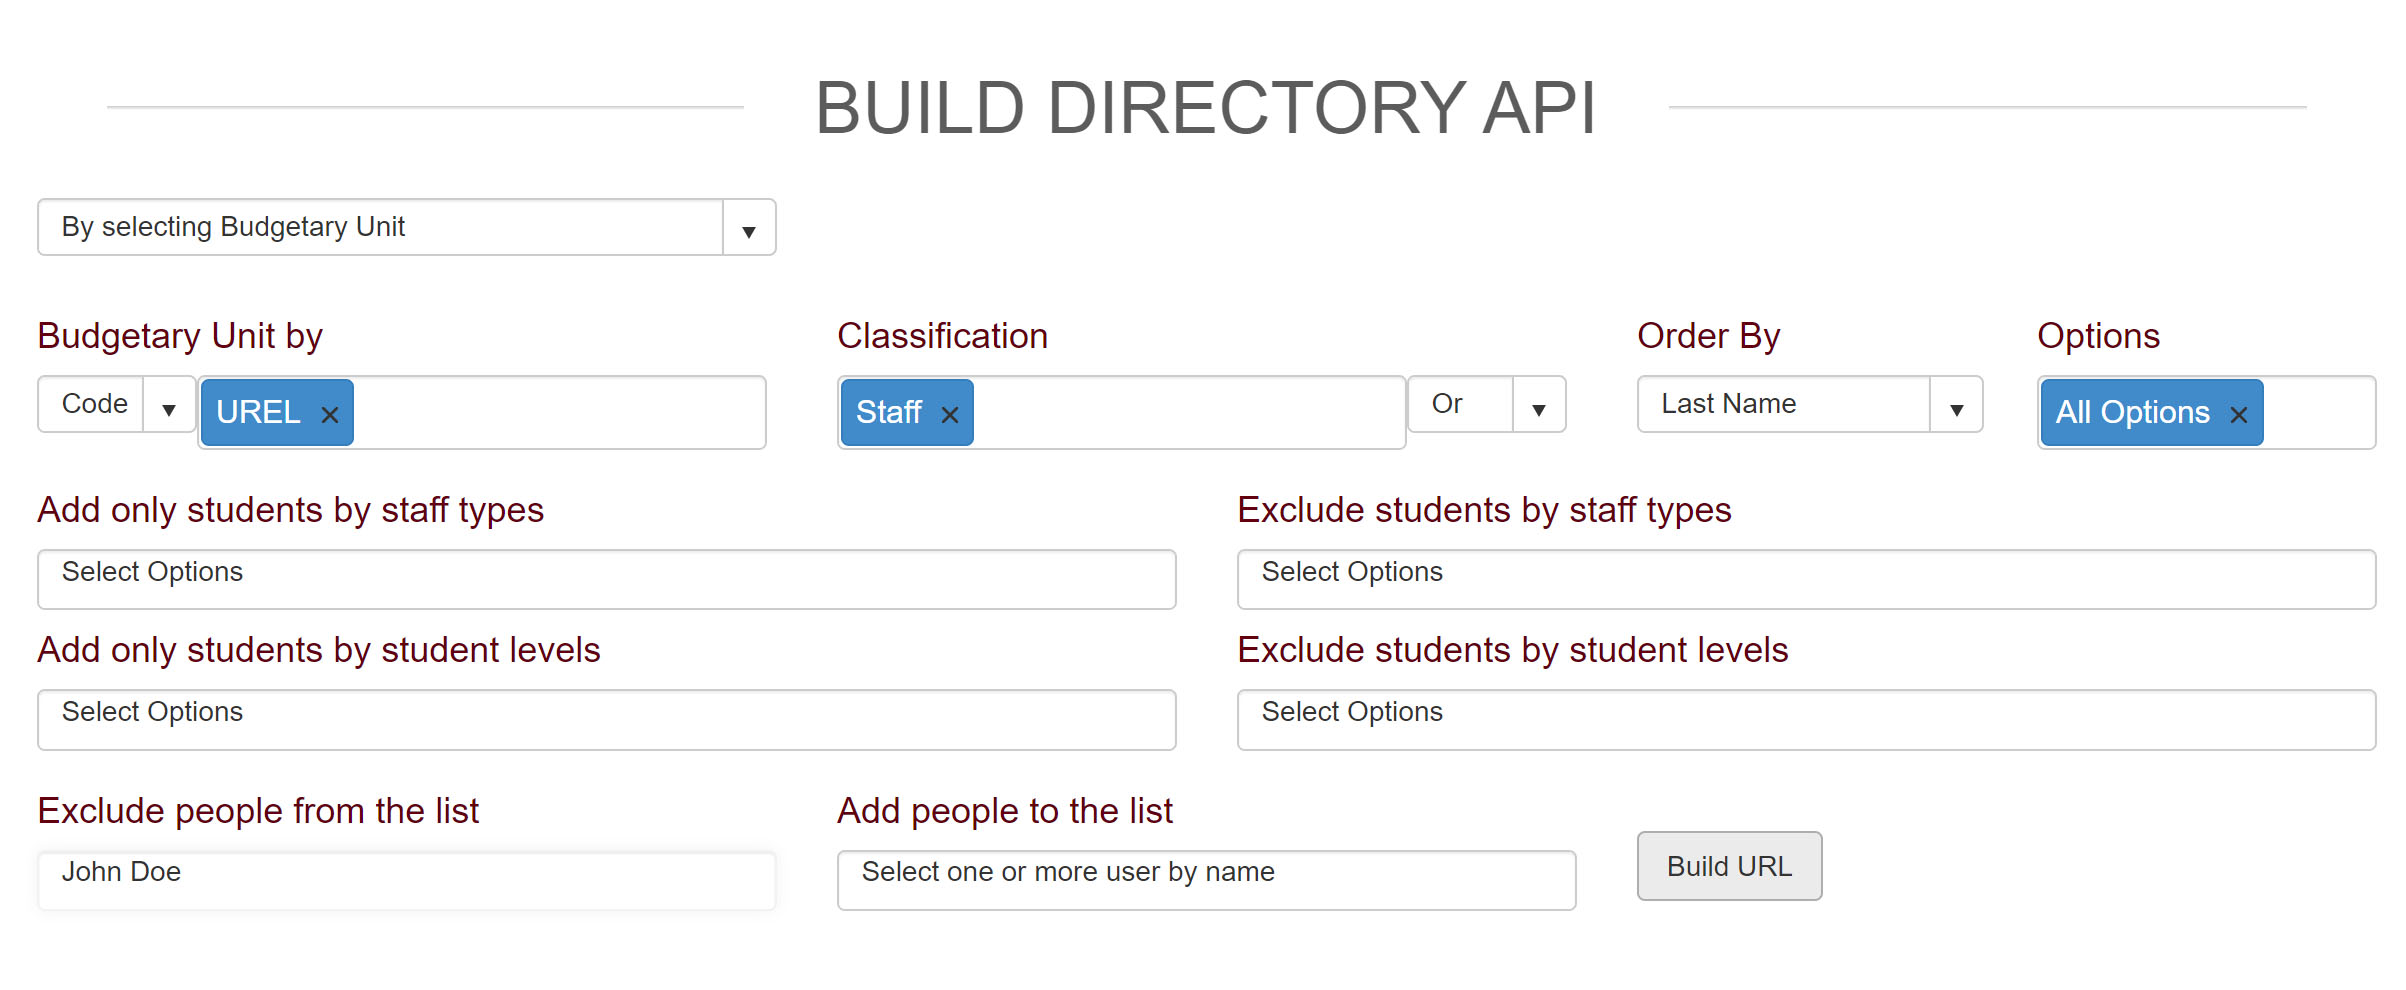
Once you have made all of your selections, click the ‘Build URL’ button.
This will provide you with a ‘copy API only’ section, a ‘copy JQuery code’ section and a ‘copy Profile page code’ section. At the bottom is a ‘See Demo’ button to preview your directory so that you can make sure everything looks correct before making your directory page. The demo will appear below the ‘See Demo’ button.
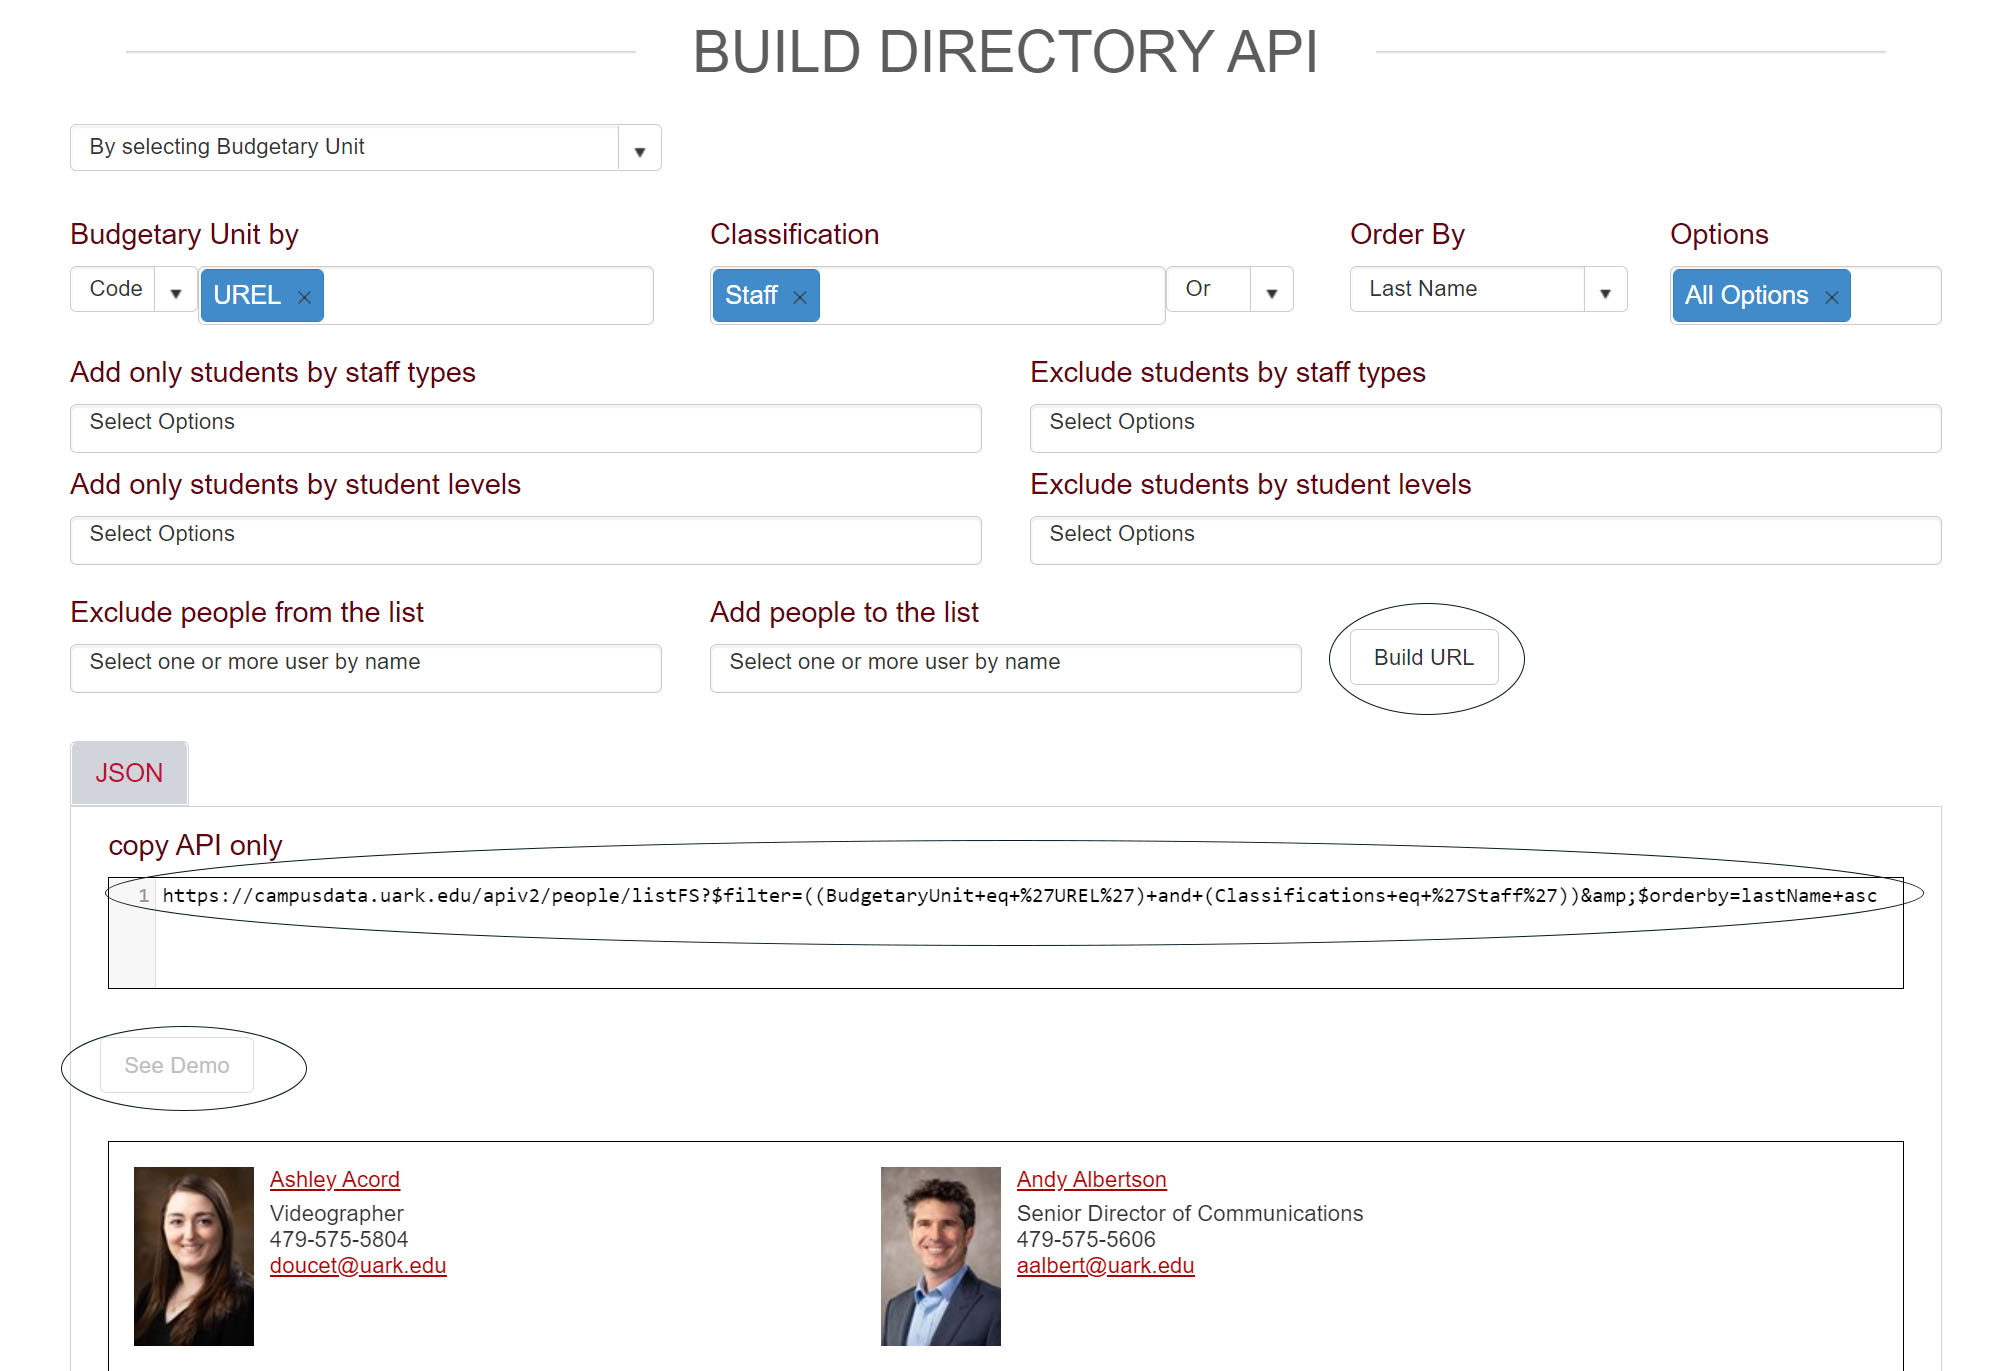
Once you have your API built, copy the information from the ‘copy API only’ window and save it for when you build the new directory page or just leave this page open until you need that information.
Basic Directory Page Build
The basic directory page option uses the Directory Page 22 template for creating new content in Modern Campus CMS. This option only allows for one API per page. Make note that additional text on this page can only be added as introductory text above the API inside the <p> tags or by adding the text to the Directory API Header section when creating the page in the page wizard.
Make sure you are first in the correct section of your website where you want that directory page then click the blue ‘+New’ button at the top of the page.
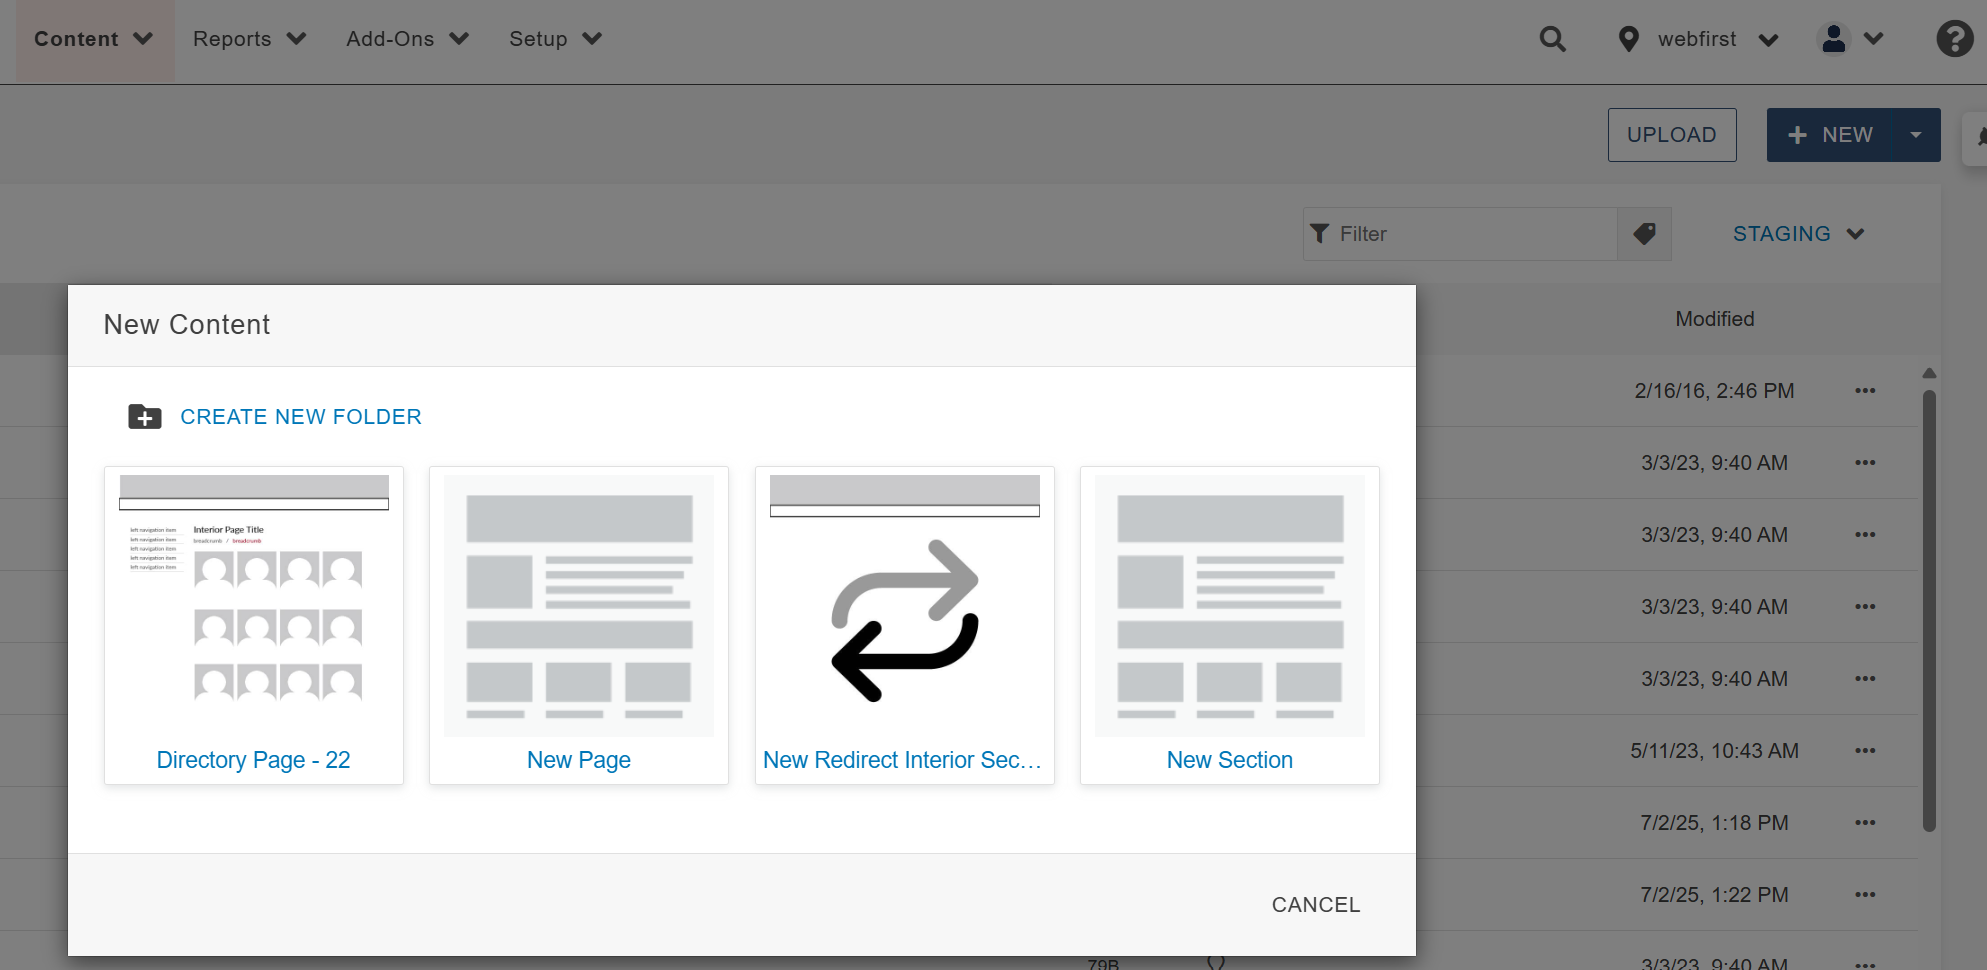
This will open up the Directory Page wizard with the Directory API Variables information.
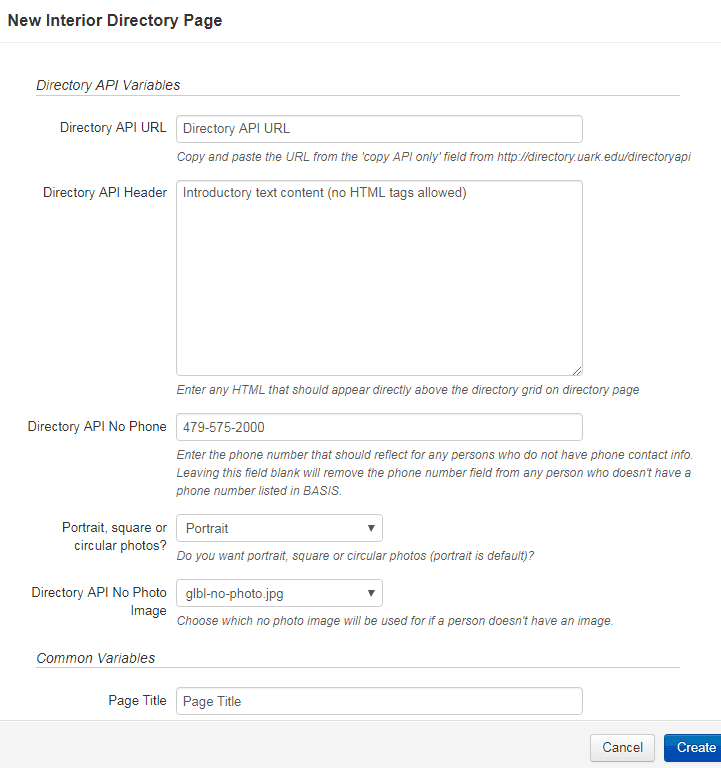
Fill out the Directory API Variables with the following:
- Directory API URL: paste in the url you obtained from the API builder (see instructions for Building Your Directory API for your Directory Page above).
- Directory API Header: This is where you can add any introductory text you want to appear before the directory listings on your page.
- Directory API No Phone: This field is for profiles in Workday that do not have a phone number listed. In that case, the number will default to 479-575-2000 which is the number for Campus Directory Assistance. This phone number can be customized to instead display the phone number for your department. Do so by changing the number in the blank provided. Leaving this field blank will remove the phone number field on both the directory grid page as well as the profile page from any person who doesn’t have a phone number listed in Workday.
- Portrait, square or circular photos: This options lets you select what photo shape you want displayed in your directory. The default is portrait.
Next, fill out the Common Variables section of the wizard with the following:
- Page Title: Make sure this is meaningful to this page and uses your page keywords.
- Keywords: Leave this section blank.
- Description: One to two sentences describing what this page is while incorporating your main keywords.
- Content: Leave this area blank.
- Click the blue Create button. The directory grid will only show up when the page us published.
- When your page is ready to publish, click the Publish button.
Once the page is published, click the ‘View in a new window’ option that pops up at the bottom of the screen to make sure your directory is correct.
Making edits to an existing directory page:
To make edits to your directory page, start by going into the edit version of that page. Click on the light bulb to check the page out and then click the properties button. This will open the page properties where you can change the Directory API URL, The Directory API Header text, The Directory API No Phone number, the image shape, and the Directory No Photo option. Once you have made your changes, Save and Publish the page.